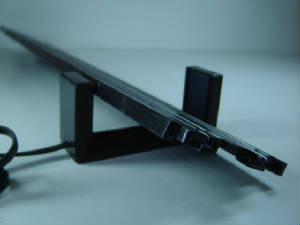
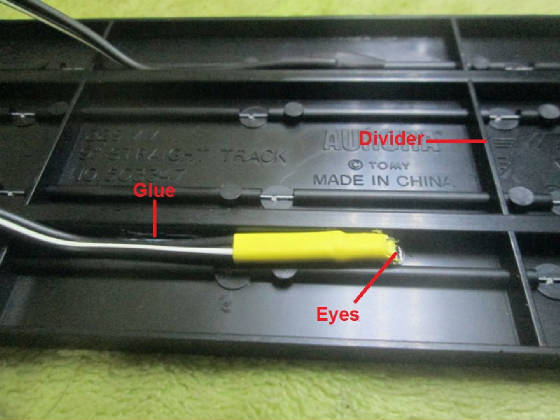
Photo Eyes in HO track
ALWAYS INSTALL EYES IN TRACK BEFORE TESTING OPERATION.
When eyes are not installed light is entering from all angles. In a well lit room eyes may not respond
unless clinched in a fist.
Tools Required:
Small knife
Ruler
2.5 mm drill bit
Variable speed drill
Small flat-head Screwdriver
Super glue/Hot glue/RTV
Silicone black
Straight pin
Block
of wood
Start with a practice piece
of track.
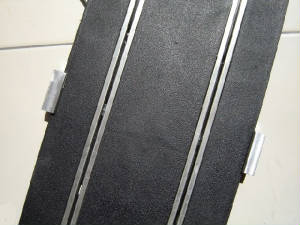
1. Measure one half inch
back from a divider on the underside of the track.
Hole placement should be in between the outside electric rail and the slot.
2. Place the tip
of the knife where the holes are to be drilled and scratch a line in the plastic.
3. Place the tip of the drill
bit at the end of the line that you started the scratch with the knife. Pressing down, turn the bit clock wise to carve out
a small seat for the bit. This is to prevent the bit from wandering when you go to drill the holes.
4. Put the bit in the chuck of the
drill. Place a piece of wood under the track. DO NOT APPLY DOWN FORCE! Allow the bit to cut all the way though making I nice
clean hole on the top surface. You now have a 2.5mm hole.
5. The eyes are 3mm in
diameter. Place the drill bit in the hole, apply power to the drill. Apply pressure in a
circular clockwise motion to gradually increase the size of the hole. The plastic is soft, it doesn't take much.
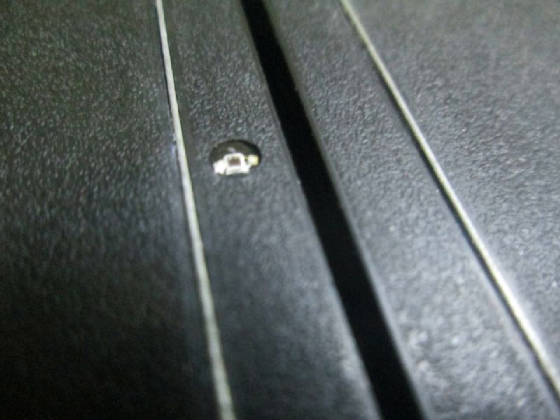
6. From the top side of the track continue boring out the hole until the photo eyes just barely fit in. If you have a snug enough fit
you may opted not to use glue
7. Now try the fit from the underside. If you find that the lip
of the eye prevents the eye from seating straight, you will need to file it down. Notice that one side has been manufactured
with out the lip. This is to make the cathode lead.
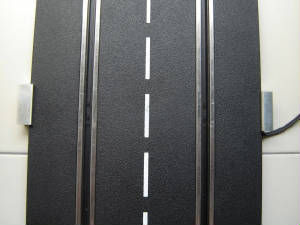
8. Once fitted apply a tiny amount of super glue to the sides
of the eye using a straight pin to apply. Press the bottom of the eye into the track using a small standard screwdriver. The
eyes should be flush with the top surface of the track.
9. Approximately two inches back from the eyes apply a drop of
super glue in the trough and dress the wires down tight. This will act as a stress relief for the eyes. All set!
click here to play video
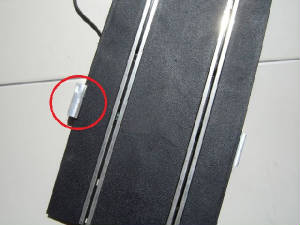
HO Sensor Gate Installation.
(1) Pit edge of track in one corner of Sensor Gate.
Scalextric and Ninco.
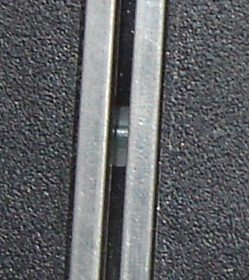
(1) Line up glass sensors with natural holes in track.
.
(3) View Glass Sensors thru holes to verify alignment.
.
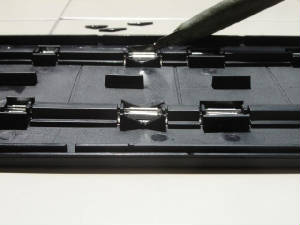
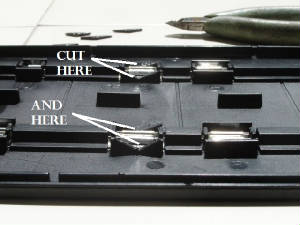
SCX Sensor Installation
(1) Make four (4) "V" cuts in bottom of track as pictured.
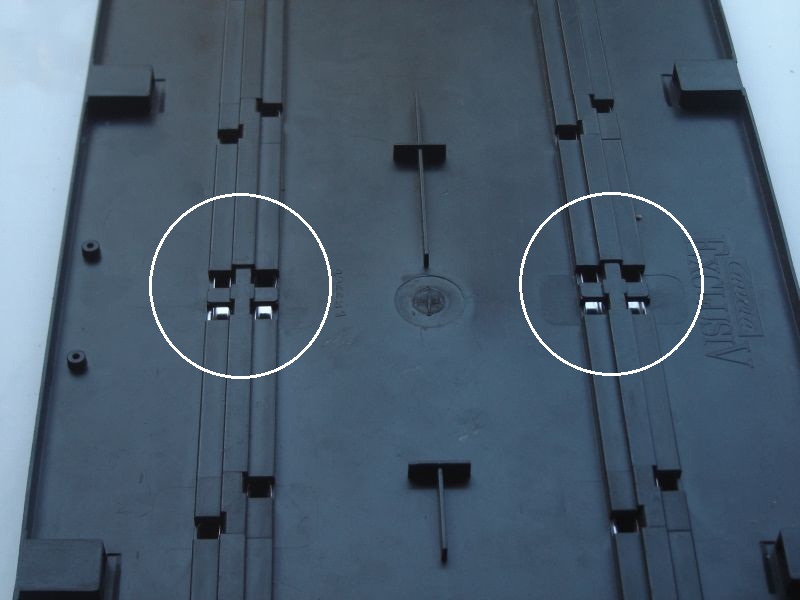
Carrera
Carrera ExclusiV has one recession dead center on the underside of track. Glass switches in
Snap-on Sensor should be lined up with this recession and snapped into place.